You may have noticed I’ve not updated in a while, due to an unexpected (yet delightful) spike in my workload at the moment. However, in between gigs, I managed to put in an order for the full-blown DaVinci Resolve control surface. Yeah, the expensive one.
When it arrived (at my home, as I’m getting ready to move), my first thought was to simply get it set up as quickly as possible in order to try it out. However, it occurred to me that I might share the vicarious thrill of the moment by offering that most blogerly of posts, the “unboxing” photo series.
In the process, you can see how the DaVinci control surface is connected, as well as the surprising amount of thought and care that has gone into packaging and delivering all 70 lbs (30 kilos) of hardware goodness.
So, here we go…
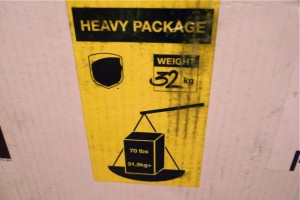
The box, as it arrived on my doorstep. My cat (Sieben) appreciated the sturdiness of the box, as well as how intact it was after the long trip from Australia, where they’re manufactured.
As I mentioned, it’s 70 lbs worth of kit, so I had fun carrying it up to my 4th floor walkup apartment.
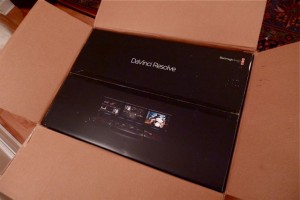
Upon opening the outer box, a packaging extravaganza awaited me within.
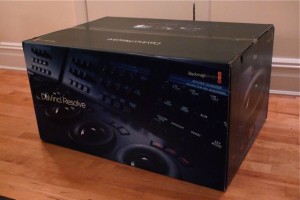
As a result, I just had to pull the inner box out to fully appreciate the design that had gone into it. While this isn’t the kind of thing I’d expect to see sitting on a store shelf, it’s gratifying (if a bit of overkill) to see such a nice box enclosing something you’ve just dropped $29,995 on. Practically speaking, I was also glad to see something this expensive getting double-boxed.
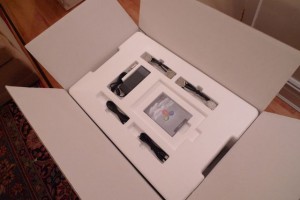
Opening up the inner packaging revealed the cables, power supply, and software, each with its designated spot. Nothing loose and rattling around here.
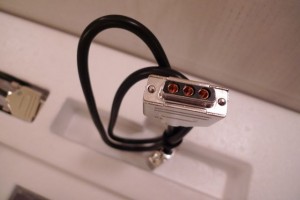
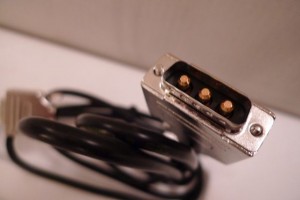
This control surface connects via USB, so three USB cables are supplied, two to connect the side panels to the center panel, and one to go to the CPU. However, power is supplied via a set of seriously engineered cables, with distinct three-pronged male/female plugs.
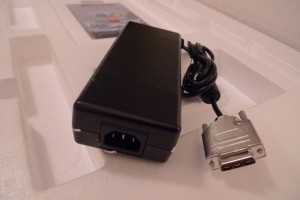
The actual power supply is external, a brick-type supply that plugs into the wall via a standard CPU power cord. Interestingly, the cord wasn’t supplied, but I figure since they deliver these internationally it would be too much of a hassle to keep track of all the different socket types, and since anyone buying one of these likely has a box of these stashed in their gear closet (I do) this wasn’t a big deal.
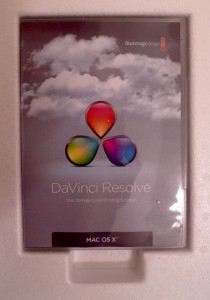
Finally, the software itself comes in a DVD-style box, with the DVD-ROM and dongle inside.
Putting the cables and software aside, it was time to pull off the top styrofoam. My dog (Penny), who often spends time with my clients and I in the grading suite, appreciated the new upgrade.
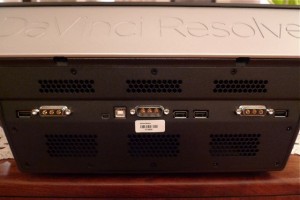
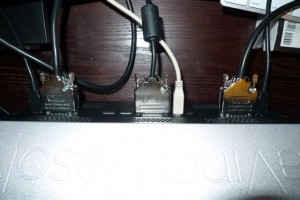
Pulling the center panel out of its plastic bag and inspecting the back, it was immediately obvious how all the plugs are meant to be installed.
- The power supply plugs into the middle, with the left and right panel power pluggins into either side.
- A standard type B USB plug next to the center power supply connection goes to the CPU, while two standard type A USB plugs next to the two side-panel power supply plugs connect the data to those panels.
- An additional two type A USB plug allows the connection of accessories (and the dongle, if that’s where you want to put it.
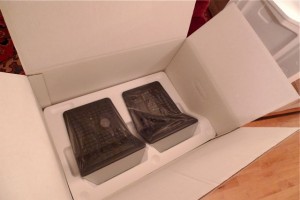
Next, it was time to lift the center panel’s cradle of styrofoam, revealing the two side-panels cleverly nested underneath, within their own styrofoam cradle. I’m definitely keeping this set of boxes for future moving and transport.
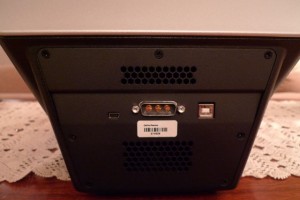
Pulling the side panels out of their plastic bags revealed the logical set of plugs in the back of each; power daisy-chained from the center panel in the middle, and a standard type B USB plug to daisy-chain data from the center panel.
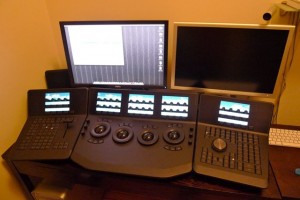
So, with everything unwrapped, it was time to set up the panels. My home office is a bit cramped for a set of panels this big, and the first thing I noticed after placing them on my desk is that the panel displays, angled as they are towards the user, obscured my monitors. This will be a consideration for anyone setting up a Resolve suite using these panels.
Ergonomically, this design makes sense, and it’s nice to be able to clearly see all of the labels without having to constantly look down, but you’ll need to position your other monitors and displays accordingly.
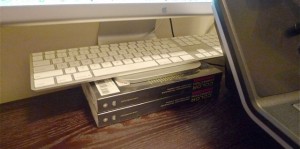
Needing to temporarily elevate them in a hurry, I used the one thing I have in abundance…
Since the power and USB plugs are so clearly positioned and strictly gendered, connecting the panels to one another and to the computer is a snap, and took me all of three minutes.
Plugging the power supply in, the panel displays light up with the Blackmagic DaVinci logo, against a pleasing cloudscape. A funny thing, these panels lack an on/off switch. If you want to turn them off, you pull the plug. Very “big-facility” (just like my Harris video scopes).
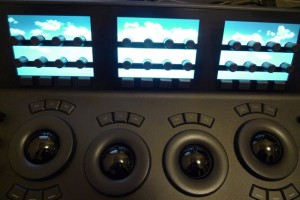
Looking closer at the DaVinci displays on the center panel. Interestingly, the three vertical displays corresponding to each set of four knobs are actually a single LCD, the push-for-detente knobs sit on a bracket floating on top. The result is that, in normal use, everything is labeled so that you’re never lost whenever you change modes (and despite the generous number of controls, you still have to change modes from time to time). I’m a big fan of dynamic labeling, so I’m happy with how much panel real-estate this functionality is given.
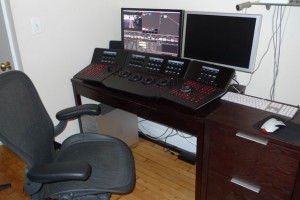
Starting up the Resolve software, here’s my temporary home office setup, a mere half-hour after opening the boxes. Honestly, the thing that took me the most time was clearing space on my desk, and finding something with which to elevate my monitors. Bear in mind, I’ve no actual grading monitor connected at the moment, this is simply a temporary setup to make sure everything on the panel works (and, let’s face it, to have fun with my new toy).
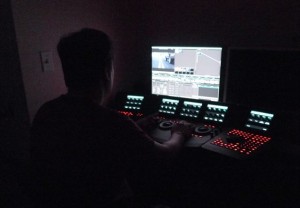
And now, the control surface as it appears in the dark with all the buttons illuminated. Incidentally, the color of button illumination is customizable from within the Resolve settings tab; they’re lit with red, green, and blue LEDs, so you can make them any color you like…
I’ve just started getting used to this surface. Even moreso then other surfaces I’ve used, the abundance of controls now available to me will require some practice to use efficiently; it’s like learning to play the piano, and I’m going to have to do a little bit of grading every day to develop the muscle memory I’ll need to use this to full advantage.
That said, having this at home is incredibly silly. I’ve been likening it to having a Lamborghini in one’s back yard, just for tooling around the patio.
I’m not going to even attempt any kind of formal review in this post, other then to say that, in the three days I’ve been casually using this, the build quality feels exceptional. The contrast wheels and trackballs feel large, easy to manipulate, smooth, and solid to the touch, and the buttons all depress with a satisfying “click,” soft enough to not be irritating, but firm enough to provide positive feedback. Lastly, the displays are bright and clear, and I really like the push-for-detente rotator controls.
Overall, I’m happy with my purchase so far, and looking forward to using these in a client situation after my move is complete (more on that later).
A DaVinci Resolve at home. Who would’ve thought?



4 comments
Very cool unboxing!
With the lights off it looks a bit sci fi-ish.
wow, that is so cool.
I just downloaded DaVinci Resolve Lite, now I can sink my teeth deeper into Color Correction and dream about the full version with hard core control surfaces. 🙂
Definitely gonna get your Color Correction Handbook – the kindle version. Hmmm, a thought, there will not be color diagrams will there, even if I am viewing on my iMac?
Phill
Actually, the Kindle version has all the color diagrams. Not sure how they look on a black and white Kindle screen, but on the Mac, they appear in full color. If you’re just getting started with grading, I think you’ll really like my book.
then it a done deal!
I will get it.
Been dabbling with Apple Color for a while and gone thru a book on it. But now I have DaVinci Resolve Lite and want to start again 🙂